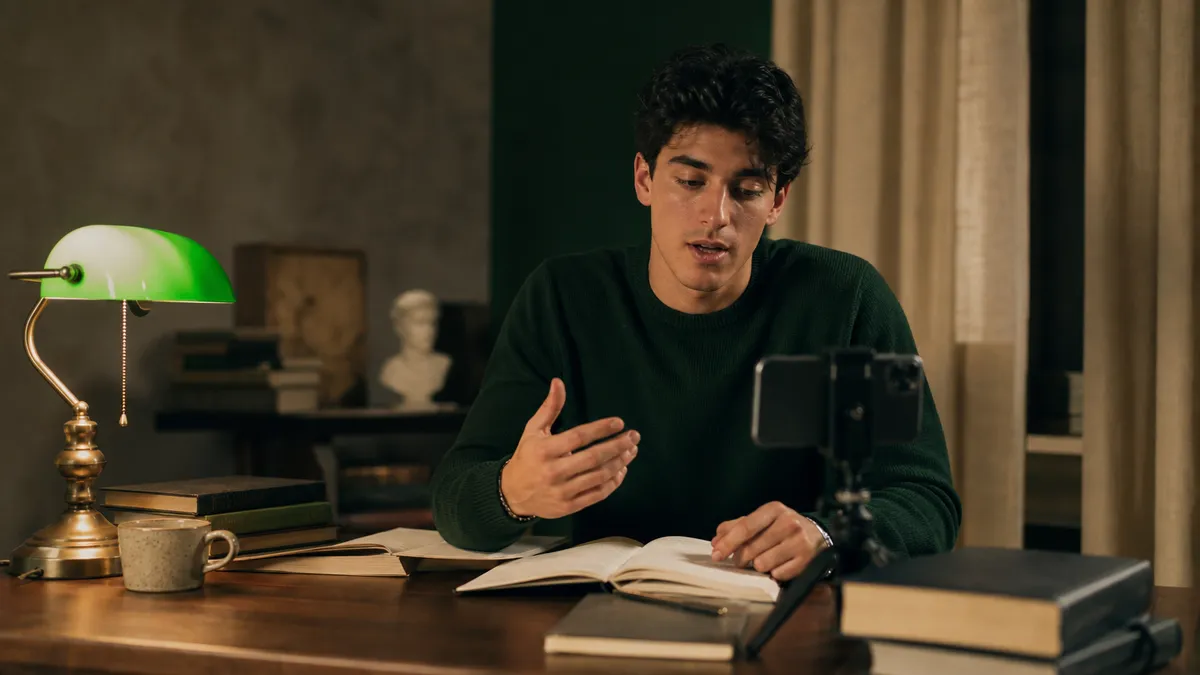
If in 2026 you’re preparing for an oral exam and it feels like you “know” things but can’t say them well, it’s not that you’re bad: it’s that you’re often training only half of the performance. The other half is how you show up while you speak: pace, pauses, gaze, posture, face. The point is that today we can train that part too in a practical way, thanks tovideo feedbackintegrated intooral simulation. I realized it when I started recording myself: on paper I was prepared, but on video I looked like I was holding my breath, I looked everywhere except straight ahead, and I spoke like a machine gun. Tools likeStudierAImake this training simpler and less random: you don’t just record—you understand what to fix and you repeat it with anAI study methodthat actually makes you improve, attempt after attempt. If you want to try it right away while you’re reading, you canstart for freeand do a first simulation in 10 minutes.
Why in 2026 video feedback has become decisive for the oral exam
Exam prep has changed: digital notes, flashcards, “smart” summaries, automatically generated quizzes… all useful. But in an oral exam there’s one thing you can’t delegate: your presence. In 2026 many professors (and committees) are more used to evaluating your ability to explain clearly, concisely, and convincingly—not just your memory. And the difference between a 24 and a 28 often isn’t “you knew more,” it’s “you communicated it better.”
video feedbackis designed to work on three fronts that matter in an oral exam more than we admit:posture
- expressions
- gaze management
- Pace that’s too fast: it looks like you’re “running away” from the question, even if the answer is correct.
- Micro-expressions (tense eyebrows, nervous smile): they’re anxiety signals you often don’t notice, but that you can manage with targeted practice.
The “decisive” part of video isn’t judging you: it’s making visible what’s sabotaging you. When you see it, you can correct it. And when you correct it, something very concrete happens: anxiety drops because you stop going “by feel.” You have a plan.
record yourself for free
who we are
Here are the nonverbal signals that really matter in an oral simulation, and how to interpret them in a practical way.
7-day training plan to be ready for the oral exam with video feedbackBody stabilityThis is a realistic plan, student-style: 10–20 minute sessions, zero perfectionism. The goal isn’t to become a presenter—it’s to make your exam prep more solid when it counts. You only need: a phone, a place with decent light, and the willingness to watch yourself back without tearing yourself apart.
Before you start: pick 7 typical questions (or 7 micro-topics) from your syllabus. One per day. If you have less time, do 4 and repeat the cycle.Open postureSimple metrics (the same every day, so you can see progress):
Clarity (0–2): 0 = confusing, 1 = ok, 2 = clear and linear.Micro-expressions and your “default” facePace (0–2): 0 = too fast/slow, 1 = almost, 2 = natural with pauses.
Presence (0–2): 0 = closed/evasive, 1 = inconsistent, 2 = steady (posture + gaze).Eye contact (without staring)Now the day-by-day plan. Each day do: 1 attempt, feedback, 1 improved attempt. Done. If you have time, a third attempt just to consolidate.
Day 1 (10–15 min) — Stress-free baseline: record a 90-second answer. Checklist: neutral posture, feet on the ground, one pause before starting. Don’t fix everything: just note the 2 most obvious problems.Pace, pauses, and “fillers”Day 2 (10–20 min) — Pace and pauses: same structure, but add 3 mandatory pauses: after the definition, before the example, before the conclusion. Goal: sound “slower” than what feels natural to you (on video it will come out right).
Day 3 (10–15 min) — Gaze: record while aiming to look back up/front when you close a point. Checklist: don’t stare, don’t dart away. If you stumble, don’t drop your head: pause and restart.
Day 4 (15–20 min) — 3-block structure: train an answer with a fixed outline: Definition → Link → Example → Mini-conclusion. Goal: no digressions. If you feel like “going off-script,” stop and go back to the outline.AI study methodDay 5 (10–15 min) — Practical anxiety management: simulate a question that puts you in difficulty. Rule: if you don’t know a part, don’t improvise randomly. Say a bridge sentence (“Here I would distinguish two cases…”) and restart from what you do know. Goal: keep posture and pace even under uncertainty.
Day 6 (15–20 min) — More realistic simulation: do 2 questions in a row, with no stop between them (as if the professor were pressing you). Goal: quick recovery. After the first answer, take one breath and restart. Then rewatch the video and choose just one correction for both.
- Day 7 (15–20 min) — “Exam” and consolidation: do a full simulation on an important question and watch it back only once. Note the scores (clarity/pace/presence) and write a mini-list: 1 thing you improved this week, 1 thing to maintain, 1 thing to train next.
- If you do this for 7 days, something very “non-magical” but powerful happens: your oral simulation stops being an event and becomes a habit. And when the real oral exam arrives, you’re not improvising under stress—you’re repeating something your body has already done dozens of times.
- In short: in 2026 preparing well doesn’t mean only studying more, but studying better. Video feedback lets you see what you’re missing, and an AI study method helps you turn those observations into repeatable corrections. If you’re aiming for an oral exam that’s cleaner, more credible, and less anxiety-inducing, this is one of the most efficient ways to get there.
- Targeted repetition: redo the same question immediately, but change only those 2 things (e.g., pause after the definition + gaze at the close).
- Progress tracking: you mark a simple score (0–2) for clarity, pace, perceived confidence. No need to be scientific—you need to see trends.
The “real-time” part doesn’t mean someone interrupts you while you speak. It means that right after the attempt you get actionable pointers, and you can do a second attempt while the feeling is still fresh. That’s where you improve: in the close comparison between version 1 and version 2.
And personalization makes the difference because not all of us have the same problem. Some people have solid content but speak too fast. Some speak well but lose the logical steps. Some freeze when a “surprise” question comes. An AI system, if used well, makes you work on your bottleneck, not on a generic plan.
StudierAI: integrating video feedback for a personalized oral simulation
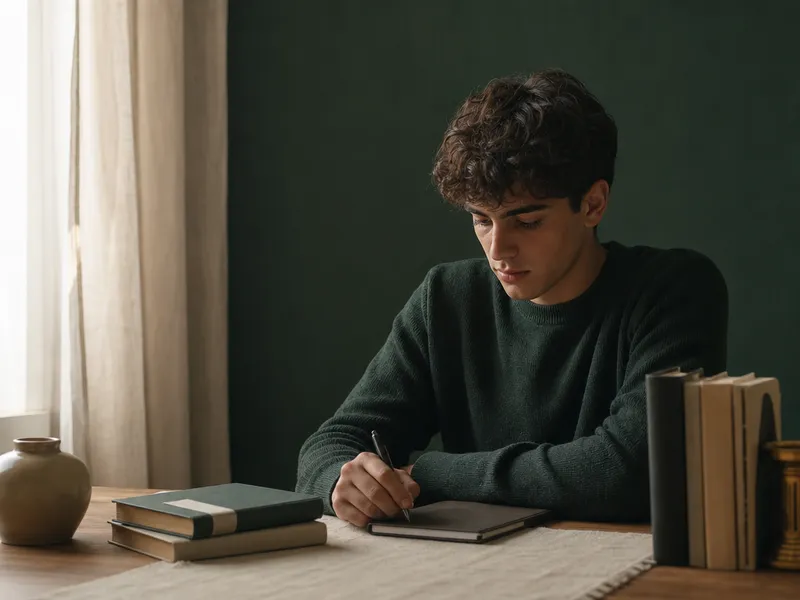
The basic idea is simple: do an oral simulation that resembles reality, but with a huge advantage over “trying with a friend”: you can repeat whenever you want and get consistent feedback. With StudierAI, the integration ofvideo feedbackis designed to work on three fronts that matter in an oral exam more than we admit:posture,expressionsandgaze management. Not as “motivational advice,” but as actionable corrections you can apply in the next repetition.
Super real example: a law/biology/literature question (you choose) that requires a definition + an example. Version 1: you start strong, then you get lost, look down, end with “yeah, sort of.” Version 2, after feedback: you pause for half a second before starting, give the definition in one sentence, give a concrete example, close with a summary sentence while looking straight ahead. The content is almost the same, but the impression changes completely. And often you feel different too: more “in control.”
What I like about an approach like this is that it helps you reduce anxiety without pretending it doesn’t exist. Oral-exam anxiety is often: “what if I freeze?” With repeated simulations and targeted feedback, the question becomes: “ok, if I freeze, what do I do?” And you train that too: breathe, rephrase, pick the thread back up.
If you want to test the flow with no commitment, you canrecord yourself for freeand do a mini-session: one question, two attempts, two corrections. And if you feel like understanding where the project comes from (no fluff), there’s also thewho we arepage.
7-day training plan to be ready for the oral exam with video feedback
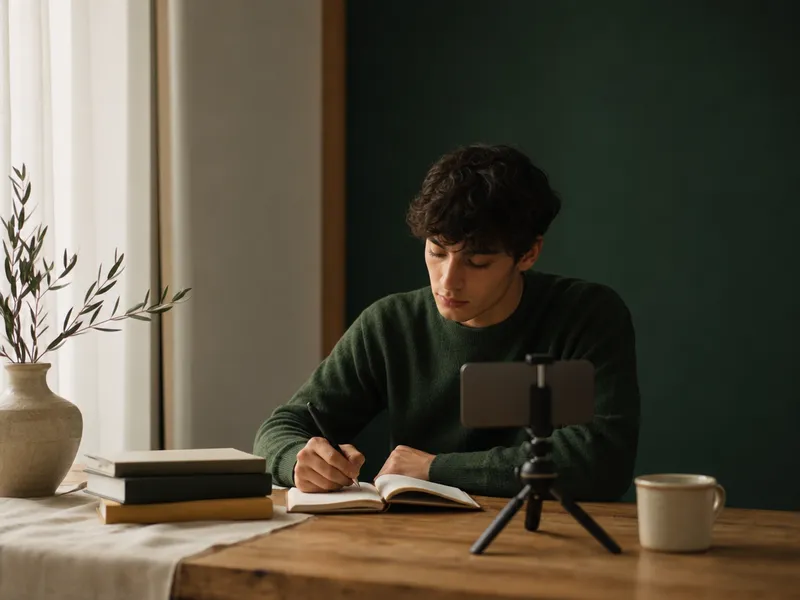
This is a realistic plan, student-style: 10–20 minute sessions, zero perfectionism. The goal isn’t to become a presenter—it’s to make your exam prep more solid when it counts. You only need: a phone, a place with decent light, and the willingness to watch yourself back without tearing yourself apart.
Before you start: pick 7 typical questions (or 7 micro-topics) from your syllabus. One per day. If you have less time, do 4 and repeat the cycle.
Simple metrics (the same every day, so you can see progress):
- Clarity (0–2): 0 = confusing, 1 = ok, 2 = clear and linear.
- Pace (0–2): 0 = too fast/slow, 1 = almost, 2 = natural with pauses.
- Presence (0–2): 0 = closed/evasive, 1 = inconsistent, 2 = steady (posture + gaze).
Now the day-by-day plan. Each day do: 1 attempt, feedback, 1 improved attempt. Done. If you have time, a third attempt just to consolidate.
Day 1 (10–15 min) — Stress-free baseline: record a 90-second answer. Checklist: neutral posture, feet on the ground, one pause before starting. Don’t fix everything: just note the 2 most obvious problems.
Day 2 (10–20 min) — Pace and pauses: same structure, but add 3 mandatory pauses: after the definition, before the example, before the conclusion. Goal: sound “slower” than what feels natural to you (on video it will come out right).
Day 3 (10–15 min) — Gaze: record while aiming to look back up/front when you close a point. Checklist: don’t stare, don’t dart away. If you stumble, don’t drop your head: pause and restart.
Day 4 (15–20 min) — 3-block structure: train an answer with a fixed outline: Definition → Link → Example → Mini-conclusion. Goal: no digressions. If you feel like “going off-script,” stop and go back to the outline.
Day 5 (10–15 min) — Practical anxiety management: simulate a question that puts you in difficulty. Rule: if you don’t know a part, don’t improvise randomly. Say a bridge sentence (“Here I would distinguish two cases…”) and restart from what you do know. Goal: keep posture and pace even under uncertainty.
Day 6 (15–20 min) — More realistic simulation: do 2 questions in a row, with no stop between them (as if the professor were pressing you). Goal: quick recovery. After the first answer, take one breath and restart. Then rewatch the video and choose just one correction for both.
Day 7 (15–20 min) — “Exam” and consolidation: do a full simulation on an important question and watch it back only once. Note the scores (clarity/pace/presence) and write a mini-list: 1 thing you improved this week, 1 thing to maintain, 1 thing to train next.
If you do this for 7 days, something very “non-magical” but powerful happens: your oral simulation stops being an event and becomes a habit. And when the real oral exam arrives, you’re not improvising under stress—you’re repeating something your body has already done dozens of times.
In short: in 2026 preparing well doesn’t mean only studying more, but studying better. Video feedback lets you see what you’re missing, and an AI study method helps you turn those observations into repeatable corrections. If you’re aiming for an oral exam that’s cleaner, more credible, and less anxiety-inducing, this is one of the most efficient ways to get there.